PlugCo is a large company that focuses on producing pipe testing equipment. Inflatable Pipe Plugs, Pipe repair Packers and Joint Testers are all part of the PlugCo product range.
In this article, we will take joint tester as a subject, as well as treat it from all sides and get to know its types and its main utility.
As we know, large pipes are made up of several pipes that are joined together by connections. In some cases, it is necessary to test the leakage on these connections between pipes. For this, joint testers are the most recommended solution in terms of safety and certainty. So, why the joint tester? And what are its types?
Joint Tester: Definition, Types and Utility.
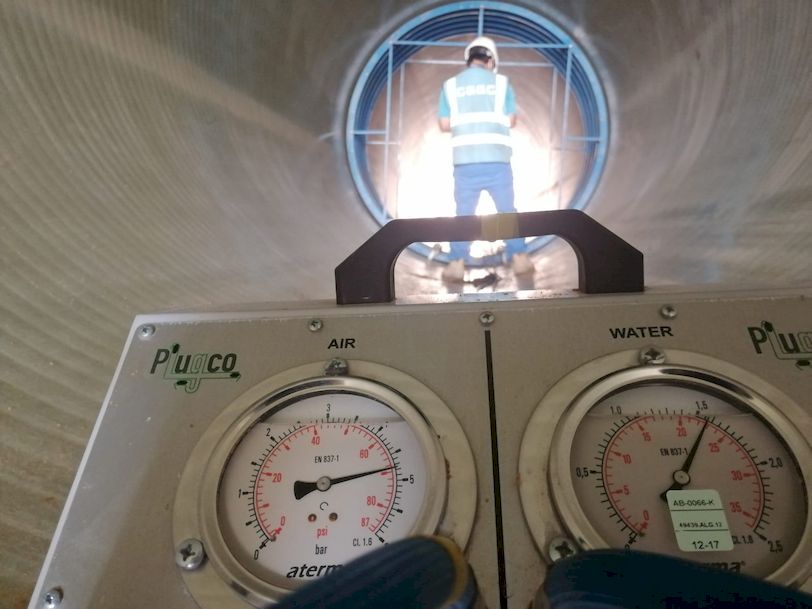
Joint tester is a pipe test equipment, generally used to test the joints between sections of pipes. Within the PlugCo product range there are two types of joint testers, the Joint Tester for leak testing (JT) and the High-Pressure Joint Tester (JT-H). Both Types are commonly used to test concrete or GRP pipe joints, with low water consumption and reduced testing time. However, the main difference between these two bold types is that the high-pressure Joint Tester (JT-H) manufactured to resist excessively high pressure, up to customer’s needs.
Why using the joint tester?
Normally, for testing pipe joints, inflatable pipe plugs can be used as well, but in this case the water consumption will be higher. Joint testers, on the other hand, reduce water consumption and testing time. In addition, it facilitates the movement inside the pipeline, as PlugCo supplies joint testers with wheels, which gives flexibility and good performance during applications.
The mentioned advantages are not everything about PlugCo’s Joint tester, there is one more important thing, which is the multi-part Joint Tester. Joint tester can be disassembled into 2 or 3 parts to fit in manholes easily, and reassembled inside the pipe.
How to choose the correct Joint Tester?
To select the product to be used:
- First measure the internal diameter of the pipe and then select the model that will match with the pipe.
- Measure the length of the joint and define the corresponding Joint Tester length.
- Determine the method of testing, will it be an air or water leak test?
- Check the required test pressure according to the test specifications and share this with PlugCo team to quote the suitable model for your application.
How to use the Joint Tester?
Once you have defined all required specifications, PlugCo team will certainly help you to get the right product for your application. Place the Joint Tester in the pipe and ensure that it is deflated. The wheels on the joint tester make it easy to move inside the pipe. So, once the product is in front of the joint to be tested, center the JT with bolts until the centerline of the JT and the pipe sections are aligned. Inflate the bladder, by connecting the air hose, to the maximum inflation/working pressure, and also connect the water hose to fill the water in the test area. Then wait for the minimum period mentioned in EN1610 or specified by the consultant. If there is no leakage from the joint under pressure and the pressure drop is acceptable, this means that your leakage test has been successfully completed. By watching this video, you’ll know more about using the Joint Tester https://www.youtube.com/watch?v=eO7kjw5jk0c.
