What is the Joint Tester? How to use the Joint Testers correctly? Joint tester pipeline installation.
What is a joint tester? Why is it so important for pipeline installation?
A Joint Tester is used to test the joint point of the two pipes. It is a must-have product for testing the connection between two pipes. Without testing at the connection point, identifying any issues after closing the line can be challenging and costly to repair.
Ensuring Success: A Complete Guide for the Joint Tester
Before starting joint testing, make sure to thoroughly check both the product and the bladder.
Ensure all necessary materials are on hand:
- Compressor
- Joint tester control device
- Water hose
- U-Air hose
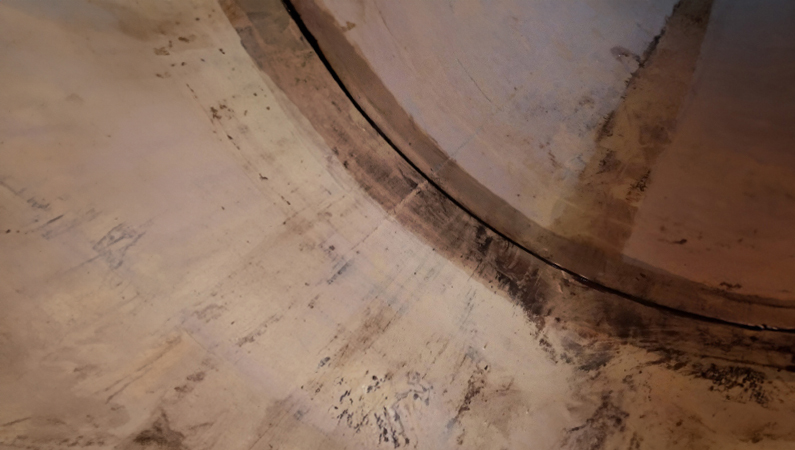
Joint Tester Installation on the Pipe
Once materials are confirmed, adhere to the following pre-application checks:
Bladder Protection: When moving the joint tester into position within the pipe, take care to prevent any damage to the bladder.
Uniform Distance: Keep the spacing between the pipe and bladders the same at every point. Adjust if needed to make sure it’s even.
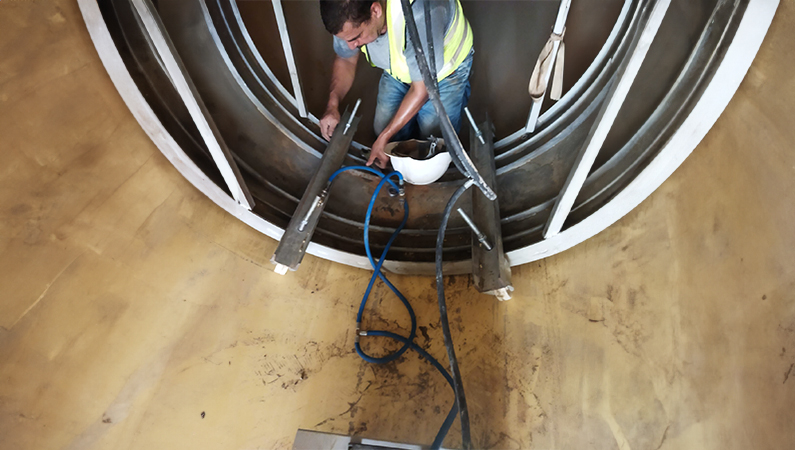
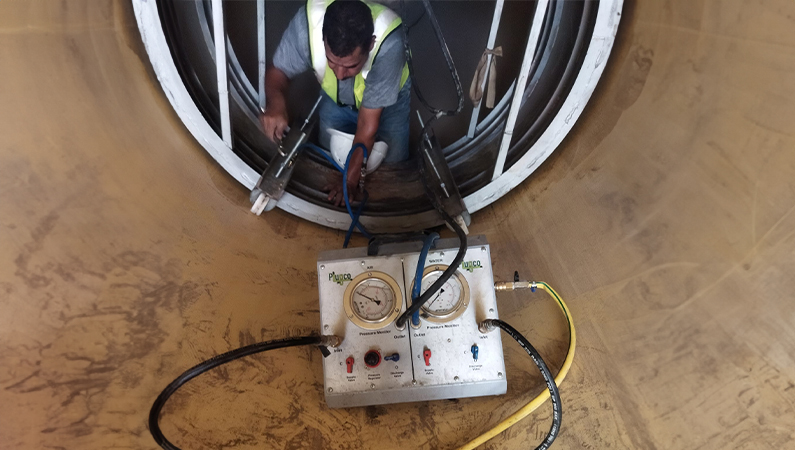
Arranging for the joint tester to ensure the integrity of the materials.
After confirming the integrity of the materials and the joint testers, proceed with the following steps:
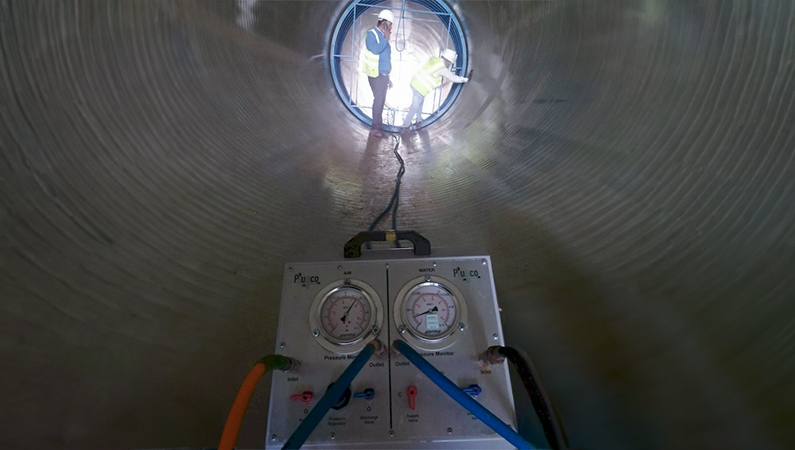
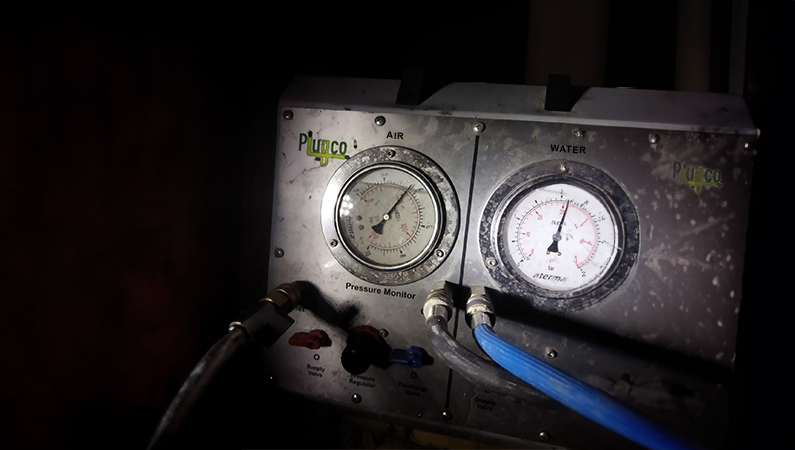
1. Inflation and Pressure Checking:
Start by inflating the bladder. Ensure that the pressure valve reaches the required pressure. For example, if the required working pressure is 4.0 bar and the compressor only inflates to 3.6 bar, replace the compressor to achieve the required test pressure.
Arranging for the joint tester to ensure the integrity of the materials.
Once the bladder reaches 4.0 bar, stop inflating and wait for 8 minutes, following the TSEN1610 standard (the wait time may vary based on pipe diameter and material).
2. Water Filling Preparation: Before filling with water, open the air discharge valve (jak) to release the trapped air. If the air isn’t released, it may affect the test.
3. Starting Water Filling: Begin filling with water from the ground level of the joint. To avoid problems during filling, release the air in the jack beforehand.
4. Pressure Checking: As water fills, use a pressure gauge to monitor pressure. Adjust the valve carefully to keep the pressure within the desired range. Start and stop adjustments as necessary until the pressure stabilizes around 2.5 bar (the 2.5 bar value may vary depending on the specific test requirements).
Control Device for Joint Tester
Post-Fill Procedure: Upon stabilizing at 2.5 bar, wait for 30 minutes in accordance with TS EN 1610 standards. The outcome of this waiting period could yield one of two results:
• Successful Test: If the pressure remains stable and no leaks are detected around the pipe, proceed with water discharge at the plug.
• Unsuccessful Test: Any fluctuation in pressure or signs of leakage necessitate a thorough investigation to pinpoint and rectify issues.
After a Successful Test Joint Tester Area
Summary: This guide explains a step-by-step method for testing joints, focusing on preparation, careful pressure control, and following industry standards. By following these steps closely, you can achieve accurate and dependable test results