Pipeline testing is a crucial for ensuring the safety and reliability of underground pipelines. This is where the EN1610 standard become a game changer.
The EN1610 Standard outlines various testing methods, including air testing, water testing, and vacuum testing, each designed to evaluate different aspects of concrete pipeline performance.
What is a Joint Tester?
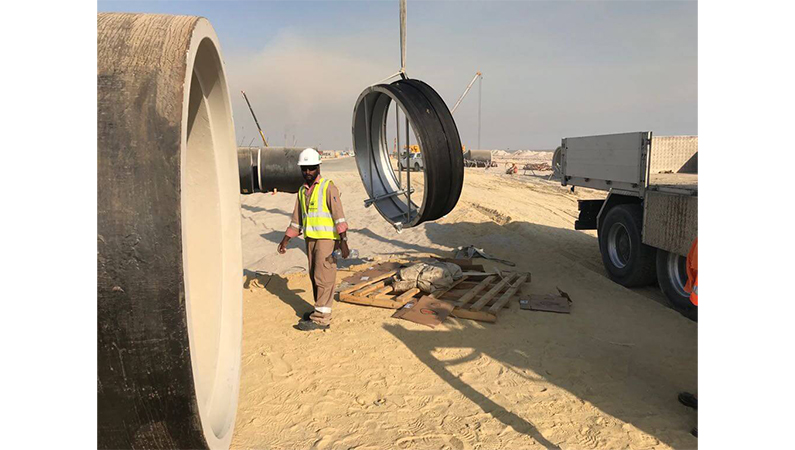
A Joint Tester is a steel core covered by rubber, used to leak test pipes individual joints of concrete and GRP pipelines. PlugCo produces different models of Joint Tester for pipe sizes starting from 400mm up to 2800mm. However, According the EN1610 Standard, it is recommended to use the Joint Tester for Pipe diameters above 1000mm.
How to Use a Joint Tester?
In order to efficiently use the Joint Tester for testing a pipeline’s joints, some equipment must be prepared before starting the application
Required Equipment for Joint Testing Application
Joint Tester
The first equipment is surely the Joint Tester itself. The Joint Tester models are single size. So, if you have different pipe sizes in the site, you will need a model for each diameter.
The criteria used to select the correct Joint Tester model are the Pipe ID, the Joint Length, the Test Pressure and the deflection in the pipe if any.
After gathering the mentioned details, PlugCo team will be able to provide the suitable model for your application.
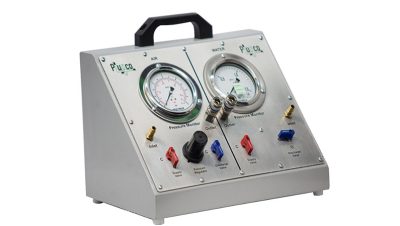
Control Device for Joint Tester
PlugCo has designed a user-friendly control device to be able to perform the joint testing smoothly. The Control Device for Joint Tester can be used for both Water and Air Leak tests.
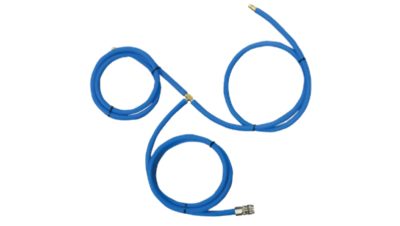
Air and Water Hoses
PlugCo offers a special hose combining the air hose, used to inflate the bladder parts, as well as the water hose, used to pressurize the test area.
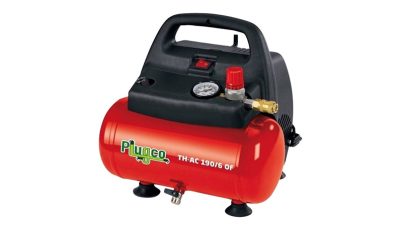
Compressor
The compressor is required to inflate the bladders of the Joint Tester.
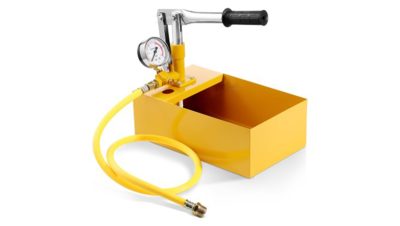
Manual Water Test Pump
A Manual Water Test Pump is used to pressurize the water in the test area to reach the required test pressure during the water-based testing.
Water Source
When it is a test with water, you will certainly need a water tank with sufficient capacity depending on the pipe size and the number of joints to be tested.
Steps of Using a Joint Tester
Once all required equipment is ready, follow these steps to carry out the testing procedure:
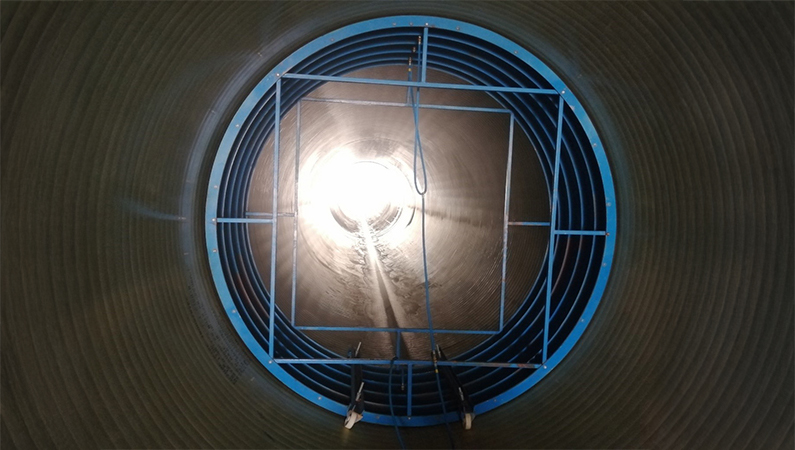
- Clean the Pipeline: Make sure the pipe is clean and free from any debris or sharp objects that could damage the Joint Tester’s bladder.
- Install the Joint Tester: Insert the tester into the pipeline and move it to the first joint using its integrated wheels.
- Center the Tester: Use the adjustment bolts to properly center the Joint Tester in the pipe.
- Connect Accessories: Attach all hoses and equipment according to PlugCo’s instructions.
- Inflate the Bladders: Inflate the Joint Tester to the specified pressure, as provided by PlugCo. Never overinflate or underinflate. The inflation pressure can be monitored via the Control Device.
- Fill the Test Area: Begin filling the space between the bladders with water. Once the pressure is stable, use a nipple to discharge the air from the test area. Remove the nipple once water flows out continuously.
- Reach Test Pressure: Use the manual pump to achieve the required test pressure.
- Hold and Observe: Maintain the pressure for 30 minutes and analyze the results to determine if the joint passes the test According to EN1610 Standard.
To make these steps even easier to understand, PlugCo has prepared the following video animation: